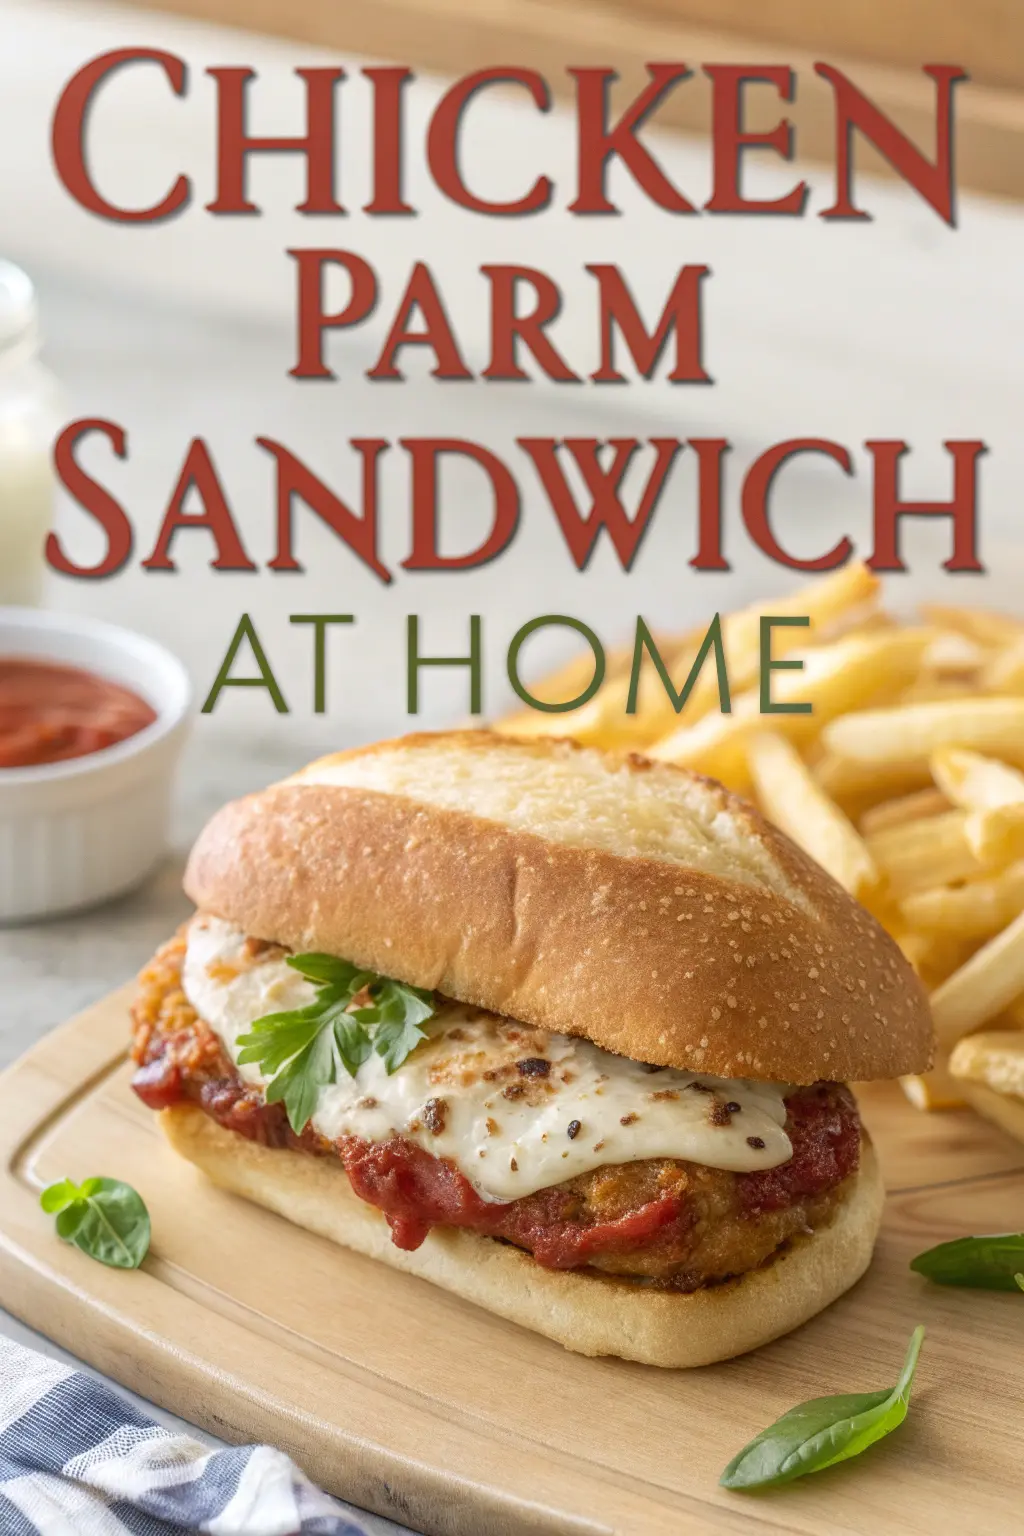
How to Make a Perfect Chicken Parm Sandwich at Home
Picture this: It’s a rainy Sunday afternoon, and the aroma of golden-brown chicken cutlets sizzling in the pan fills your kitchen. The scent of garlic and herbs from homemade marinara sauce mingles with the promise of melted mozzarella cheese. You’re about to create something magical – a chicken parm sandwich that rivals your favorite Italian-American restaurant, made with your own two hands in the comfort of your home.
There’s something deeply satisfying about mastering a classic dish that brings families together around the dinner table. The chicken parm sandwich isn’t just food; it’s a warm hug between two slices of crusty bread, a testament to the simple pleasure of comfort food done right.
Table of Contents
Essential Ingredients for Your Chicken Parm Sandwich
Creating an exceptional chicken parm sandwich starts with selecting premium ingredients. Each component plays a crucial role in achieving that perfect balance of flavors and textures you crave.
Protein and Breading Components
Your foundation begins with quality chicken breasts. Choose organic, free-range options when possible for superior taste and texture. The breading station requires three essential elements that work together to create an irresistibly crispy exterior.
| Ingredient | Quantity | Purpose |
|---|---|---|
| Chicken breasts | 2 large (1.5-2 lbs) | Main protein |
| All-purpose flour | 1 cup | First coating layer |
| Large eggs | 3 | Binding agent |
| Italian breadcrumbs | 2 cups | Crispy coating |
| Parmesan cheese (grated) | 1/2 cup | Flavor enhancement |
The secret to achieving restaurant-quality results lies in understanding how each ingredient contributes to the final product. Flour creates the initial adhesive layer, eggs provide binding power, and breadcrumbs mixed with Parmesan deliver that coveted golden crunch.
Sauce and Cheese Selection
Quality marinara sauce can make or break your chicken parm sandwich. Whether you choose homemade or store-bought, focus on varieties with minimal ingredients and robust tomato flavor.
| Ingredient | Quantity | Notes |
|---|---|---|
| Marinara sauce | 2 cups | Homemade or high-quality jarred |
| Mozzarella cheese | 8 oz | Fresh or low-moisture |
| Provolone cheese | 4 oz | Optional, adds depth |
Fresh mozzarella provides superior melting characteristics and flavor compared to pre-shredded varieties. Consider combining it with sharp provolone for added complexity that elevates your sandwich beyond ordinary.
Step-by-Step Chicken Preparation
Preparing and Pounding the Chicken
Achieving uniform thickness ensures even cooking throughout your chicken cutlets. Place each breast between plastic wrap and gently pound to approximately half-inch thickness using a meat mallet. This technique prevents overcooking the edges while the center remains underdone.
Start by butterflying thicker portions, then proceed with gentle, consistent strikes across the surface. Properly prepared chicken should feel tender yet maintain structural integrity for the breading process.
The Perfect Breading Station Setup
Organization streamlines your cooking process and prevents messy mishaps. Arrange three shallow dishes in assembly-line fashion:
- Station One: Seasoned flour mixture with salt, pepper, and garlic powder
- Station Two: Beaten eggs combined with two tablespoons of milk
- Station Three: Italian breadcrumbs mixed with grated Parmesan cheese
This methodical approach ensures consistent coating coverage while maintaining cleanliness throughout preparation.
Breading Technique for Maximum Crispiness
Execute the breading process with patience and attention to detail. Dredge each cutlet thoroughly in flour, shaking off excess before moving to the egg wash. Ensure complete coverage in the egg mixture, then press firmly into the breadcrumb combination.
Allow breaded cutlets to rest for fifteen minutes before cooking. This resting period allows the coating to adhere properly, reducing the likelihood of separation during the cooking process.
Cooking Methods: Pan-Fried vs. Baked Chicken Parm
Pan-Frying Method (Traditional Approach)
Heat vegetable or canola oil to precisely 350°F in a heavy-bottomed skillet. Maintaining consistent temperature prevents soggy coating while ensuring thorough cooking. Cook cutlets for three to four minutes per side until golden brown and internal temperature reaches 165°F.
Monitor oil temperature carefully, adjusting heat as needed. Properly fried chicken should sound crispy when tapped and display uniform golden coloring across the surface.
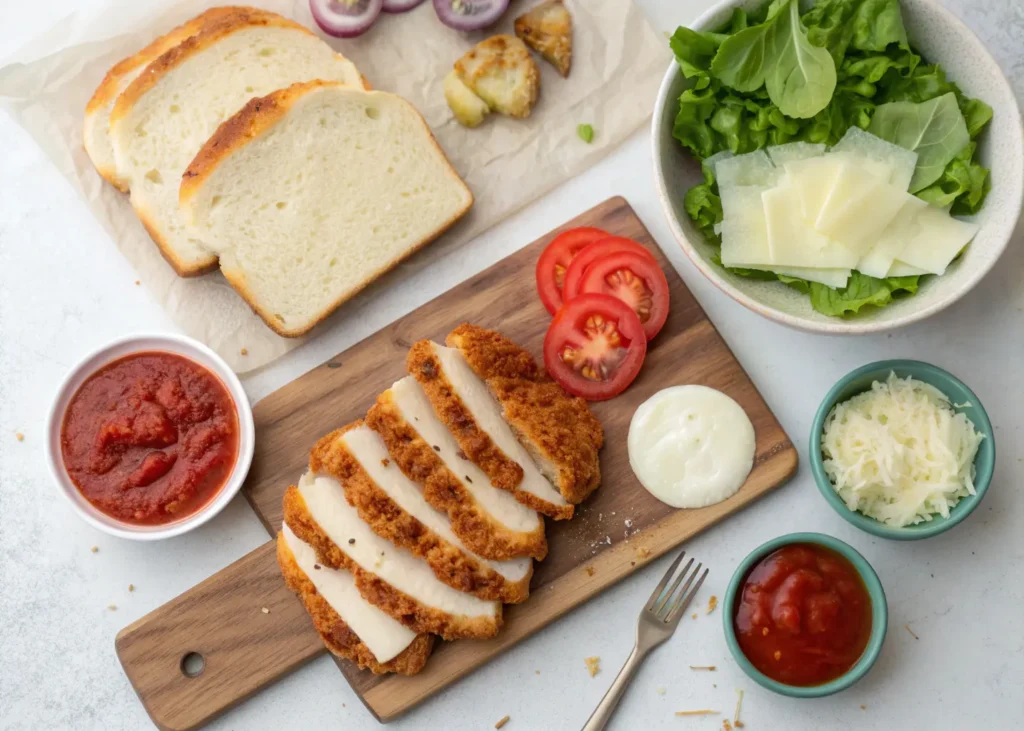
Baked Alternative (Healthier Option)
Preheat your oven to 425°F and line a baking sheet with parchment paper. Lightly spray breaded cutlets with cooking oil to promote browning. Bake for twenty to twenty-five minutes, flipping once halfway through cooking.
This method reduces oil consumption while maintaining excellent texture. The key lies in proper preparation and adequate oven temperature for achieving crispy results.
Crafting the Perfect Marinara Sauce
Quick Homemade Marinara
Creating fresh marinara takes mere minutes and dramatically improves your sandwich quality. Heat olive oil in a saucepan, then sauté minced garlic until fragrant. Add crushed tomatoes, oregano, basil, salt, and pepper.
Ingredients:
- 2 tablespoons olive oil
- 4 cloves garlic, minced
- 1 can (28 oz) crushed tomatoes
- 1 teaspoon dried oregano
- 1/2 teaspoon dried basil
- Salt and pepper to taste
Simmer for fifteen minutes, allowing flavors to meld and sauce to thicken slightly. Fresh herbs added during the final minutes provide brightness that complements the rich chicken and cheese.
Assembly Techniques for the Ultimate Chicken Parm Sandwich
Bread Preparation and Toasting
Select sturdy Italian rolls or ciabatta that can support generous fillings without disintegrating. Toast lightly until exterior becomes golden but interior remains soft. This balance provides structural integrity while maintaining pleasant texture contrast.
Consider brushing cut surfaces with garlic-infused olive oil before toasting for additional flavor depth that enhances the overall eating experience.
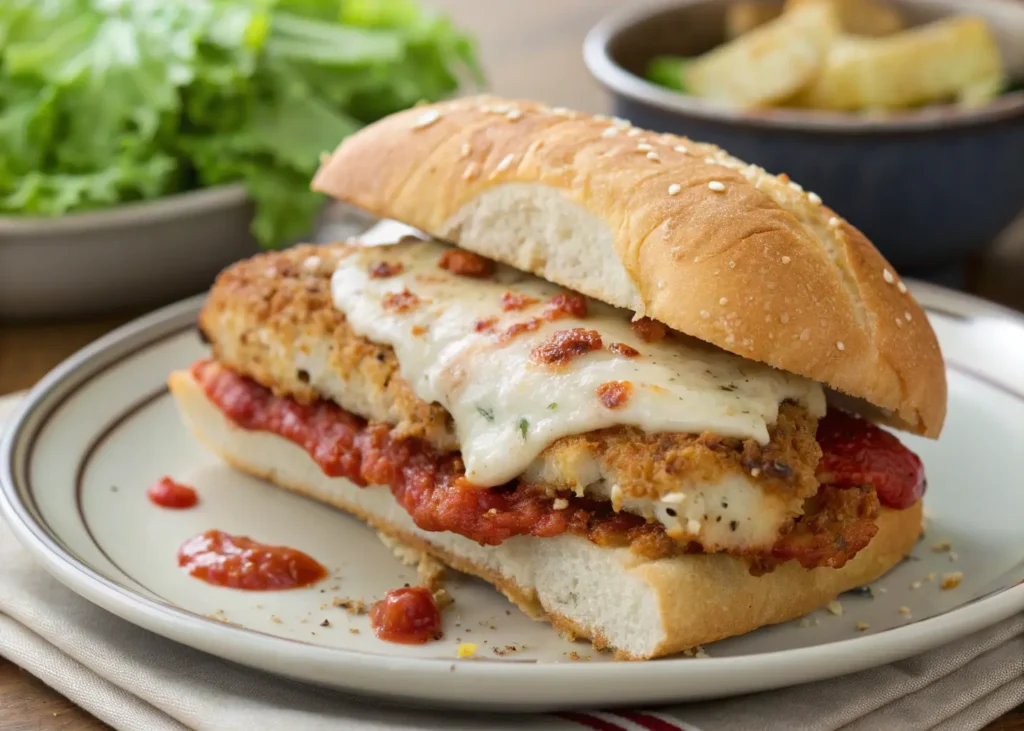
Layering Order for Best Results
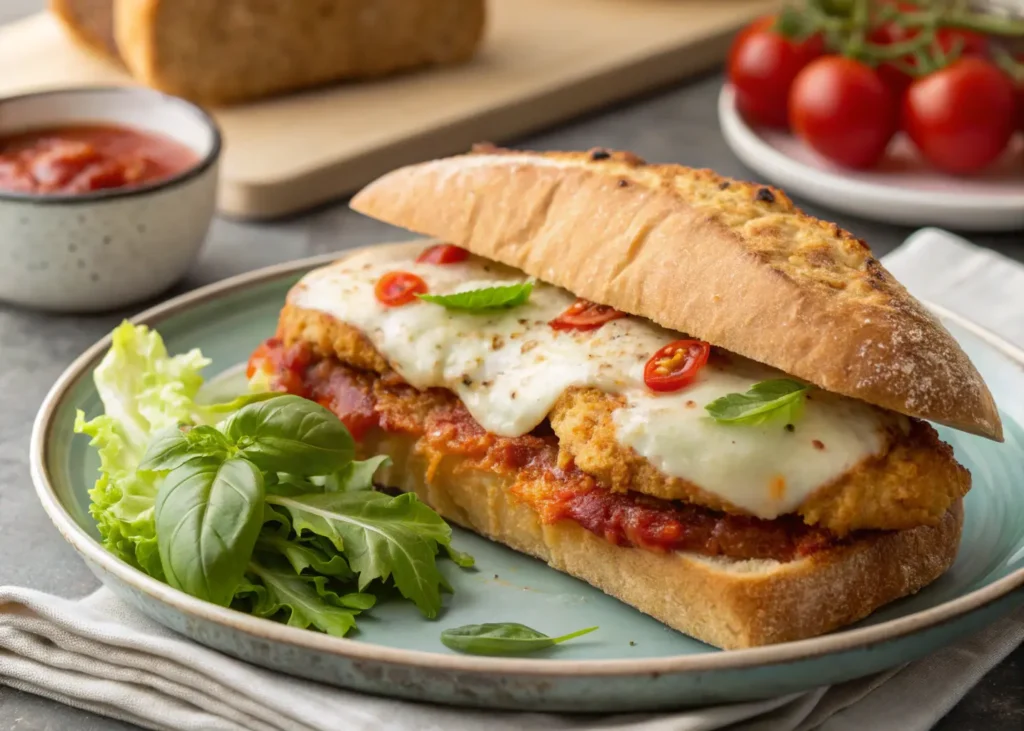
Proper assembly sequence prevents soggy bread while maximizing flavor distribution:
- Bottom bun with thin sauce layer
- Crispy chicken cutlet
- Generous marinara application
- Mozzarella cheese coverage
- Provolone layer (optional)
- Fresh basil leaves
- Top bun
This methodical approach ensures each bite contains balanced proportions of all components while maintaining textural integrity throughout consumption.
Melting the Cheese to Perfection
Place assembled sandwich under broiler for two to three minutes until cheese bubbles and develops golden spots. Alternatively, use a 375°F oven for five minutes for more controlled melting.
Watch carefully during this final step, as cheese can quickly progress from perfectly melted to unappetizingly burnt. Visual cues include gentle bubbling and light browning around edges.
Pro Tips for Restaurant-Quality Results
Temperature Control Secrets
Consistent temperature management separates amateur efforts from professional results. Use an instant-read thermometer for both oil temperature and internal chicken temperature. Allow cooked cutlets to rest briefly on wire racks, preventing steam accumulation that softens crispy coating.
Texture Optimization
Prevent soggy sandwiches by controlling moisture levels throughout preparation and assembly. Toast bread adequately, apply sauce judiciously, and serve immediately after final assembly.
Key strategies include:
- Draining fried chicken on paper towels
- Using sauce sparingly on bottom bun
- Serving while components remain hot
- Choosing appropriate bread varieties
Common Mistakes to Avoid
Several pitfalls can derail your chicken parm sandwich efforts. Avoid these frequent errors:
- Over-pounding chicken: Creates mushy texture and difficult handling
- Incorrect oil temperature: Results in greasy or undercooked coating
- Excessive sauce application: Leads to soggy bread and messy eating
- Inadequate seasoning: Produces bland, uninspiring flavors
- Poor timing: Causes temperature mismatches between components
Understanding these potential problems helps you anticipate and prevent disappointing results while building confidence in your cooking abilities.
Storage and Reheating Guidelines
Proper Storage Methods
Refrigerate leftover components separately for optimal freshness. Chicken cutlets maintain quality for three days when properly stored in airtight containers. Marinara sauce keeps for five days refrigerated.
For longer storage, wrap individual cutlets tightly and freeze for up to three months. Separate storage prevents texture degradation and maintains individual component quality.
Reheating for Best Results
Restore crispiness by reheating in a 350°F oven for ten to twelve minutes rather than using microwave methods that create soggy textures. Place cutlets on wire racks during reheating to promote air circulation and prevent moisture accumulation.
Conclusion
Mastering the perfect chicken parm sandwich at home transforms ordinary ingredients into extraordinary comfort food that brings joy to every meal. Understanding proper techniques, selecting quality ingredients, and paying attention to crucial details elevates your results beyond typical home cooking attempts.
The satisfaction derived from creating restaurant-quality food in your own kitchen extends beyond mere sustenance. It represents skill development, creative expression, and the ability to provide exceptional experiences for family and friends who gather around your table.
Practice these techniques consistently, and you’ll develop the confidence and expertise necessary to create memorable chicken parm sandwiches that become requested favorites for years to come.
Frequently Asked Questions About Chicken Parm Sandwiches
How do I keep my chicken parm sandwich from getting soggy?
Prevent soggy chicken parm sandwiches through proper assembly timing and technique. Toast bread lightly, apply sauce sparingly to bottom surfaces, and serve immediately after final preparation. Keep hot components separate from bread until ready for consumption.
What’s the best bread for a chicken parm sandwich?
Italian rolls, ciabatta, or submarine sandwich rolls provide optimal structure for chicken parm sandwiches. Select varieties with crusty exteriors and soft interiors that can support substantial fillings without structural failure during eating.
Can I make chicken parm sandwich components ahead of time?
Prepare chicken cutlets up to twenty-four hours in advance by completing the breading process and refrigerating until ready to cook. Marinara sauce benefits from advance preparation, developing deeper flavors over two to three days. However, cook chicken and complete assembly immediately before serving for best results.
How do I get my chicken parm sandwich coating extra crispy?
Achieve maximum crispiness through double-breading techniques (flour, egg, breadcrumbs, then repeat egg and breadcrumbs), adequate resting periods before cooking, and precise temperature control during frying. Maintain oil temperature at exactly 350°F throughout the cooking process.
Ready to create your own restaurant-quality chicken parm sandwich? Gather these ingredients, follow these proven techniques, and prepare to impress everyone at your dinner table with this classic comfort food masterpiece. Share your results and variations in the comments below – we’d love to hear about your chicken parm sandwich adventures!

