Salmon Roll Made Easy: Step-by-Step Sushi Guide
Picture this: You’re halfway through watching a sushi chef work their magic behind the counter when something clicks. Those precise movements, the way fresh salmon transforms into perfect cylindrical masterpieces—it suddenly doesn’t seem quite so impossible. Your craving for that buttery, ocean-fresh taste wrapped in perfectly seasoned rice has reached a tipping point, and ordering takeout for the third time this week just won’t cut it anymore.
What if you could recreate that restaurant-quality salmon roll experience right in your own kitchen? Beyond the obvious cost savings (we’re talking about cutting your sushi expenses by 70%), there’s something deeply satisfying about mastering this centuries-old culinary art. You’ll control every ingredient, ensure peak freshness, and develop a skill that never fails to impress dinner guests.
Today, we’re breaking down the salmon roll creation process into manageable steps that transform what seems like professional wizardry into an achievable home cooking adventure.
Why Your Kitchen Deserves Fresh Salmon Rolls
Creating salmon rolls at home delivers benefits that extend far beyond simple cost considerations. When you prepare your own sushi, you’re taking complete control over ingredient quality—no more wondering about the freshness of restaurant fish or the sodium content in pre-made rice seasoning.
Your homemade salmon rolls will cost approximately $3-5 per roll compared to the $8-15 you’d spend at restaurants. That’s meaningful savings that add up quickly, especially if sushi ranks high on your regular meal rotation. More importantly, you’ll know exactly when your fish was purchased, how it was stored, and what goes into every component of your roll.
The customization possibilities become endless when you’re in charge. Prefer less rice and more salmon? Adjust accordingly. Want to experiment with spice levels or different vegetables? Your kitchen, your rules. This flexibility makes salmon roll preparation particularly appealing for households with varying taste preferences or dietary restrictions.
Understanding Different Salmon Roll Styles
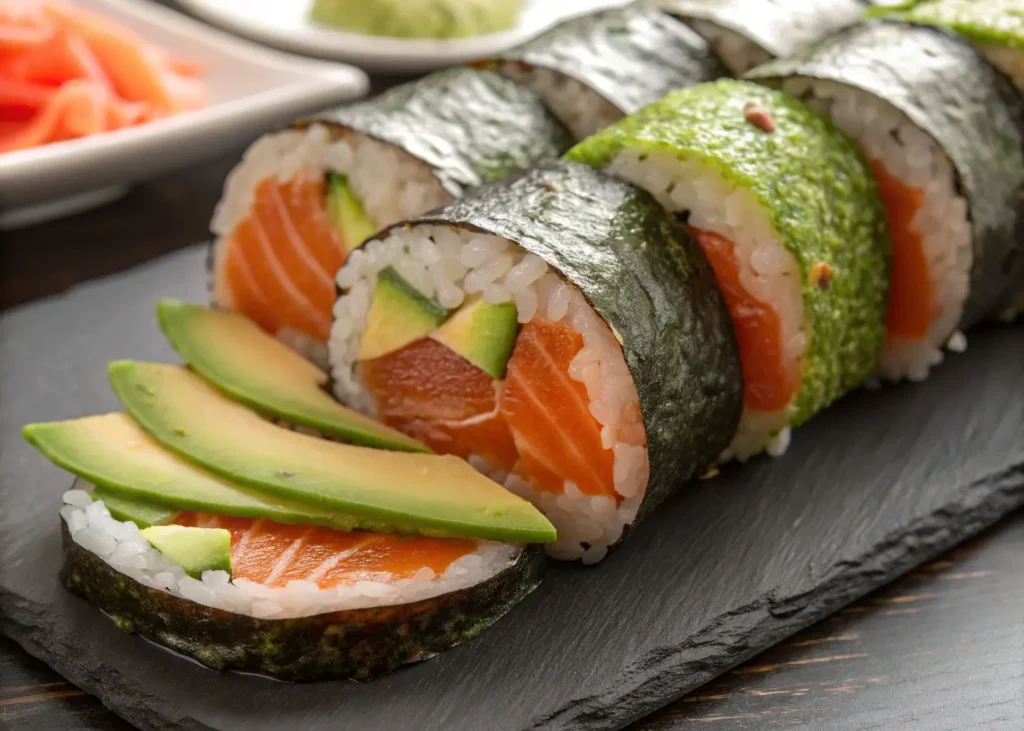
Before diving into preparation, you’ll want to choose which salmon roll variation suits your skill level and taste preferences. The classic salmon roll (known as sake maki in Japanese) represents the most straightforward approach—nori seaweed wrapped around seasoned rice and fresh salmon strips. This style provides an excellent starting point for beginners.
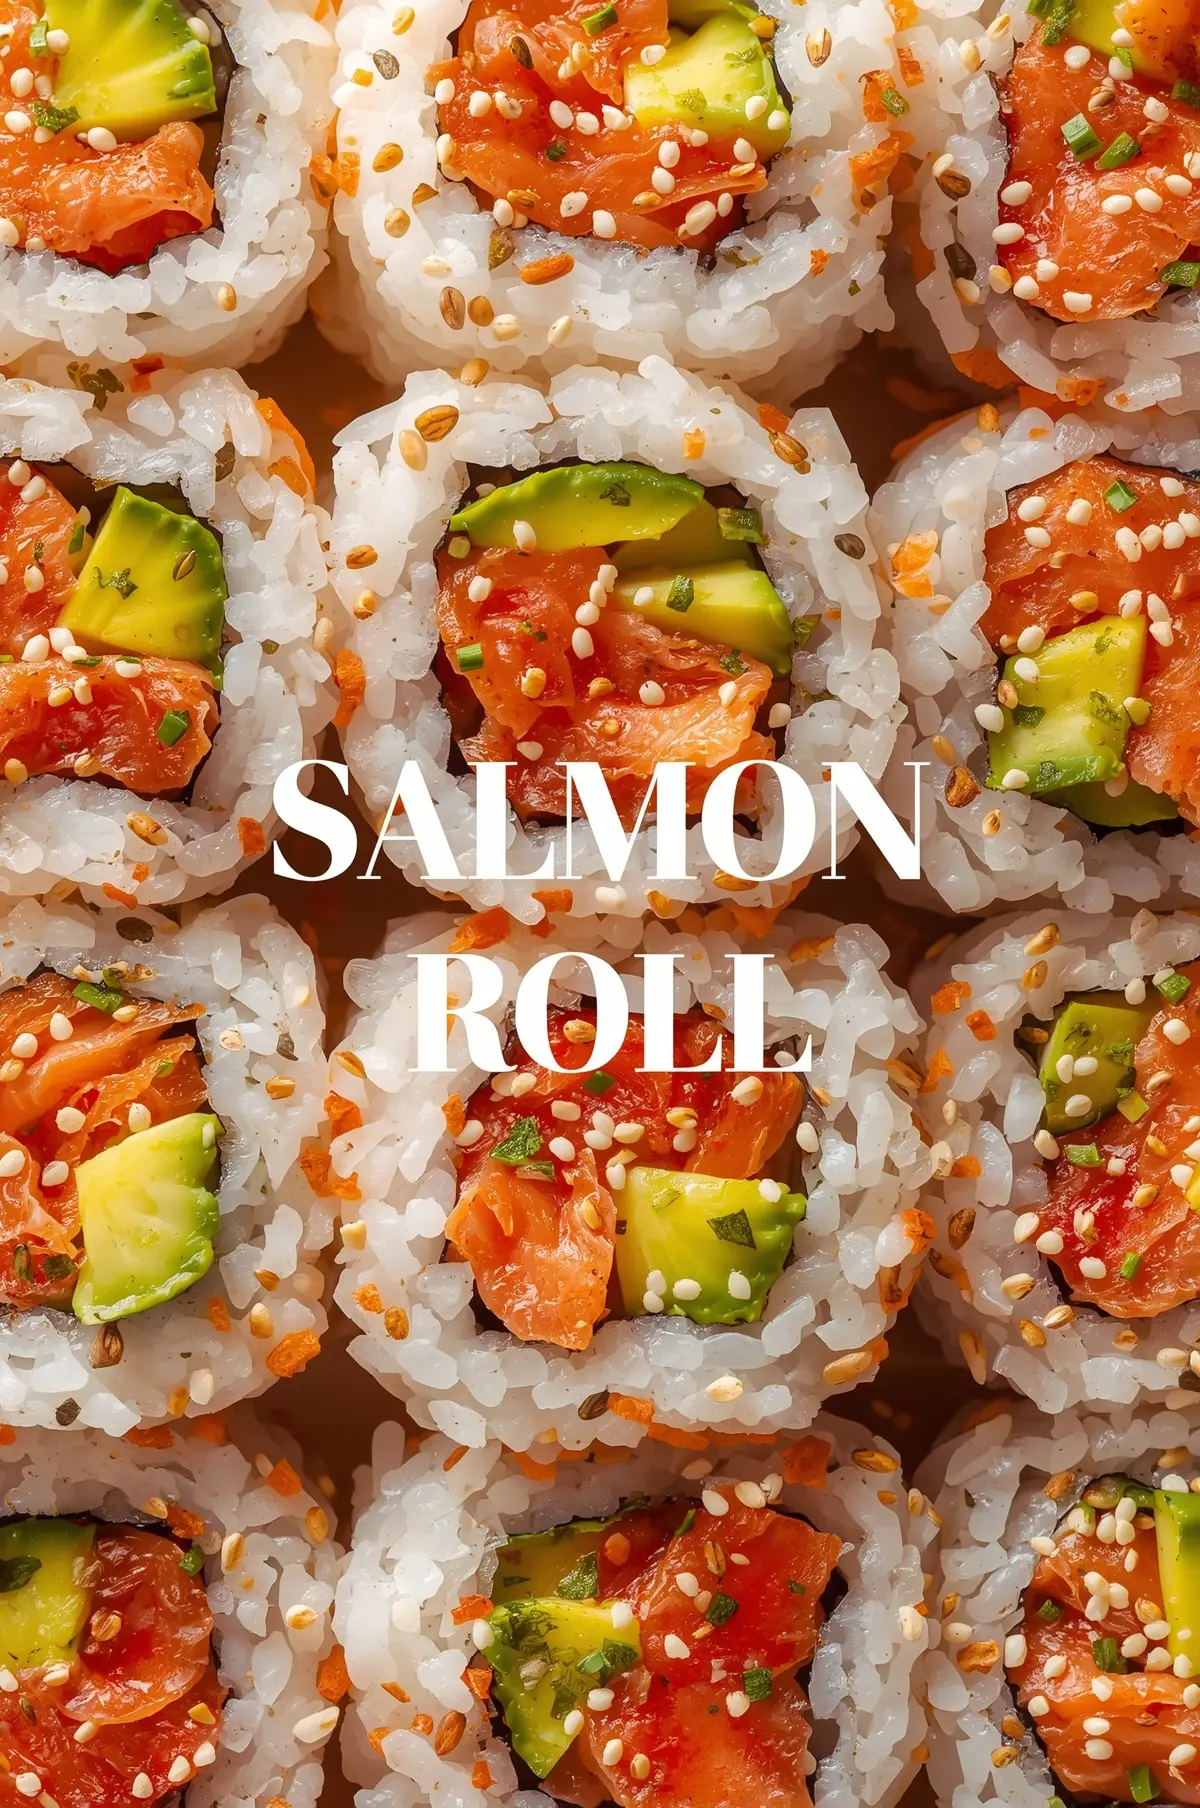
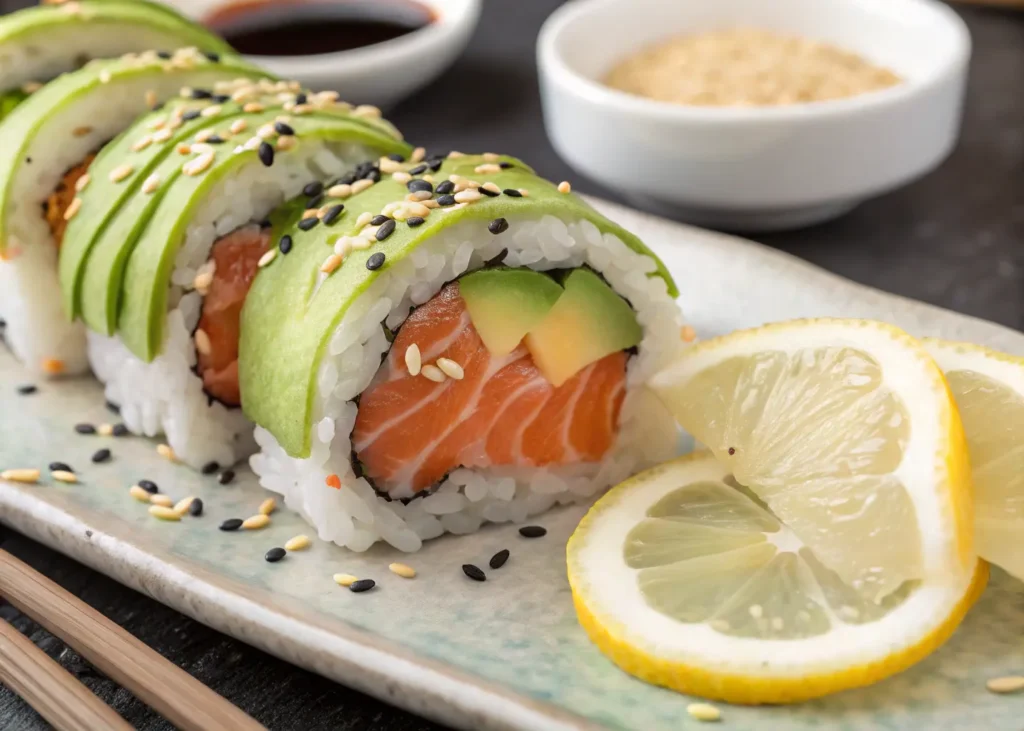
If you’re feeling adventurous, consider the salmon avocado roll, which adds creamy texture contrast, or the Philadelphia roll that incorporates cream cheese for richness. Spicy salmon rolls use a mayo-based mixture instead of plain fish, while inside-out rolls (uramaki) place the rice on the exterior for a different presentation.
Each style requires slightly different techniques, but mastering the basic salmon roll first gives you the foundation for all variations. Start simple, then expand your repertoire as your confidence grows.
Essential Ingredients and Equipment for Perfect Results
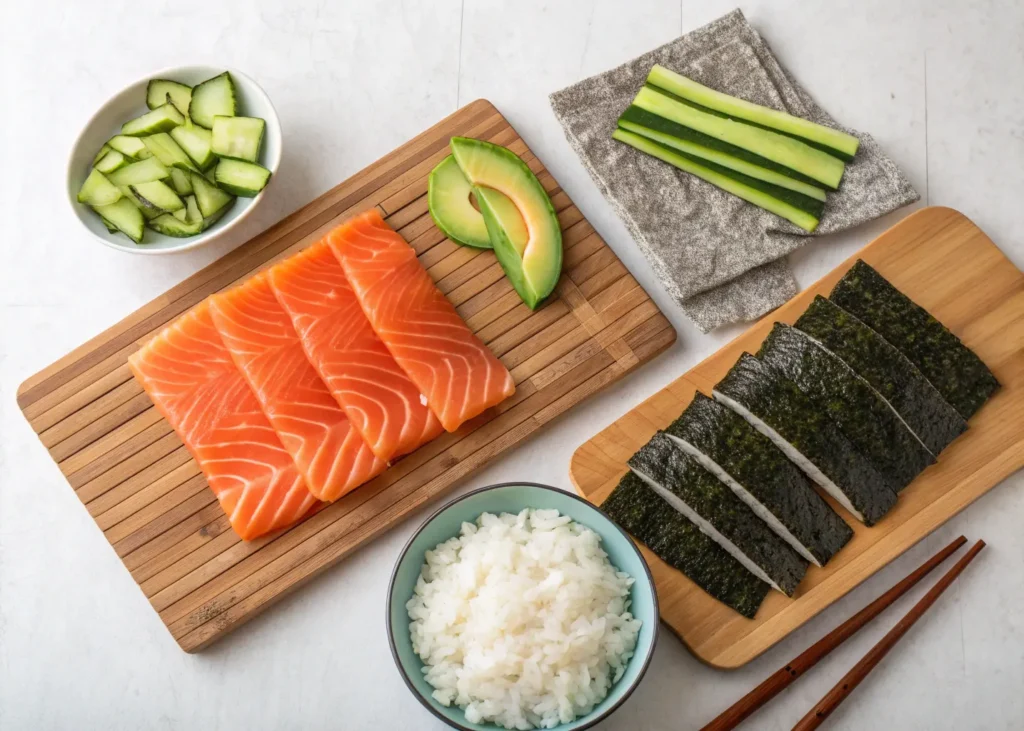
Success in salmon roll creation starts with sourcing proper ingredients. Your fish selection represents the most critical component—only purchase sashimi-grade salmon from reputable sources. This designation indicates the fish has been handled and frozen according to strict standards that make raw consumption safe.
| Component | Ingredient | Quantity (4-6 rolls) | Quality Notes |
|---|---|---|---|
| Fish | Sashimi-grade salmon | 8-10 oz | Must be sashimi/sushi grade |
| Rice | Short-grain sushi rice | 2 cups uncooked | Japanese varieties preferred |
| Seasoning | Rice vinegar | 1/4 cup | Unseasoned type |
| Seasoning | Sugar | 2 tablespoons | White granulated |
| Seasoning | Salt | 1 teaspoon | Fine sea salt |
| Wrapper | Nori seaweed sheets | 4-6 sheets | Grade A quality |
Quality sashimi-grade salmon should display bright orange-pink coloring, firm texture, and smell like fresh ocean water rather than “fishy.” Purchase from Japanese markets, high-end grocery stores, or specialty seafood suppliers who understand sushi-grade standards. Plan to use your salmon within 24 hours of purchase for optimal safety and flavor.
Your equipment list remains surprisingly minimal. A bamboo rolling mat (makisu) provides the traditional tool for creating uniform rolls, though you can substitute with a clean kitchen towel if necessary. You’ll need an extremely sharp knife for clean cuts—dull blades tear the nori and create messy presentations.
Preparing Perfect Sushi Rice
Sushi rice preparation determines whether your salmon rolls hold together properly or fall apart disappointingly. Start by rinsing your short-grain rice under cold water until the water runs clear—this typically requires 5-7 rinses. The rinsing process removes excess starch that would otherwise create gummy, overly sticky rice.
Use a 1:1.2 ratio of rice to water for optimal results. Bring the water to a boil, add your rinsed rice, then reduce heat to the lowest setting and cover tightly. Simmer for exactly 18 minutes without lifting the lid, then remove from heat and let stand for 10 additional minutes.
While your rice rests, prepare the seasoning mixture by gently heating rice vinegar, sugar, and salt until the crystals dissolve completely. The key to proper sushi rice lies in combining warm rice with warm seasoning—this prevents shocking the rice grains and creates the ideal texture.
Transfer your cooked rice to a large bowl (wooden is traditional but not essential) and gradually fold in the seasoning using a cutting motion rather than stirring. Fan the rice while mixing to encourage cooling and develop the characteristic glossy appearance. Your finished sushi rice should feel slightly warm, not hot, and each grain should remain distinct while being sticky enough to hold together.
Salmon Preparation and Cutting Techniques
Proper salmon handling becomes crucial for both safety and presentation. Keep your fish refrigerated at 32-38°F until the moment you’re ready to cut. Set up a clean workspace with sanitized cutting boards and knives—cross-contamination prevention is essential when working with raw fish.
Remove any skin using a sharp knife held at a 45-degree angle, sliding the blade between the flesh and skin with smooth strokes. Run your fingers along the salmon to detect any remaining pin bones, removing them with clean tweezers or needle-nose pliers.
Cut your salmon into strips approximately 1/2 inch thick and 4-5 inches long. Uniform sizing ensures even rolling and prevents some pieces from protruding while others get lost inside the roll. Clean your knife blade between cuts to maintain precision and prevent the fish from sticking.
Step-by-Step Rolling Assembly Process
Set up your rolling station with everything within easy reach. Place your bamboo mat on a clean, dry surface, position a bowl of water nearby for moistening your hands, and arrange your ingredients logically.
Position one nori sheet shiny-side down on your bamboo mat. With wet hands (this prevents sticking), spread approximately 3/4 cup of sushi rice evenly across the nori, leaving a 1-inch border at the top edge for sealing. Apply gentle pressure to create an even layer without compressing the rice too firmly.
Arrange your salmon strips horizontally across the rice, about one-third up from the bottom edge. Don’t overfill—less is more when you’re learning proper rolling technique.
Here’s where the magic happens: Lift the bottom edge of your bamboo mat and begin rolling the nori around the filling, applying steady, gentle pressure. Keep the mat positioned correctly so it doesn’t get rolled into your sushi. When you reach the bare nori edge, lightly moisten it with water to create a proper seal.
Use the bamboo mat to give your completed roll a final gentle squeeze, shaping it into a uniform cylinder. The roll should feel firm but not compressed to the point of squishing the filling.
Cutting and Presentation Mastery
Your knife technique during the cutting phase can make or break the final presentation. Ensure your blade is sharp and slightly damp—wipe it with a wet towel between each cut to prevent sticking.
Position your completed roll seam-side down on the cutting board. Using a single decisive motion (no sawing), cut the roll in half. Clean your knife, then cut each half into 3-4 pieces, creating 6-8 total pieces per roll.
Arrange your salmon roll pieces cut-side up on serving plates, allowing the beautiful cross-section to showcase your handiwork. The contrast between the dark nori, white rice, and orange salmon creates an appealing visual presentation that’s almost too pretty to eat.
Troubleshooting Common Problems
If your rolls keep falling apart, you’re likely dealing with one of several common issues. Rice that’s too dry won’t stick properly, while overly wet rice creates a mushy mess. The sweet spot requires practice to identify, but properly seasoned sushi rice at the right temperature should hold together without being gluey.
Rolling too loosely results in pieces that fall apart when cut, while rolling too tightly can compress the filling and create an unappealing dense texture. Apply steady, even pressure throughout the rolling process, imagining you’re creating a firm but gentle hug around your ingredients.
Torn nori usually indicates either too much moisture in your rice or rough handling during the rolling process. Work efficiently but gently, and ensure your nori sheets are fresh and crisp when you begin.
Health Benefits and Safety Considerations
Salmon rolls provide excellent nutritional value when prepared properly. Each roll delivers approximately 18-22 grams of high-quality protein along with beneficial omega-3 fatty acids that support heart and brain health. You’ll also get significant amounts of vitamin D and B12, plus selenium for antioxidant protection.
The moderate calorie content (200-250 calories per roll) makes salmon rolls a satisfying meal choice that won’t derail healthy eating goals. When you prepare them at home, you control the sodium content and avoid the preservatives found in many restaurant preparations.
Safety remains paramount when working with raw fish. Only purchase sashimi-grade salmon from trusted sources, maintain proper refrigeration temperatures, and consume your rolls within 2 hours of preparation. Pregnant women and individuals with compromised immune systems should consult healthcare providers before consuming raw fish.
Serving and Storage Guidelines
Traditional salmon roll service includes soy sauce for dipping, wasabi for heat, and pickled ginger (gari) as a palate cleanser. Arrange these accompaniments alongside your rolls on wooden boards or ceramic plates for an authentic presentation.
Fresh salmon rolls taste best when consumed immediately after preparation. If you must store leftovers, wrap them tightly in plastic wrap and refrigerate for no more than 24 hours. Never freeze salmon rolls—the freezing process destroys both the rice texture and fish quality.
For entertaining, consider preparing components in advance. You can cook and season rice several hours ahead (keep it at room temperature), cut your salmon, and prepare accompaniments. Final assembly should happen as close to serving time as possible for optimal texture and flavor.
Frequently Asked Questions
Is it safe to make salmon rolls at home with raw fish? Yes, when you use sashimi-grade salmon from reputable sources and follow proper food safety protocols. Always purchase from trusted suppliers and consume within 24 hours.
Can I make salmon rolls without a bamboo rolling mat? While a bamboo mat gives the best results, you can use a clean kitchen towel or even roll by hand, though the shape may be less uniform.
How do I know if my salmon is sashimi-grade? Sashimi-grade salmon should be labeled as such and purchased from reputable fishmongers. It should have bright color, firm texture, and smell like the ocean.
Why does my salmon roll fall apart when I cut it? Common causes include using too much filling, insufficient rolling pressure, dull knife, or cutting with a sawing motion instead of clean single cuts.
Ready to transform your kitchen into a sushi destination? Start by sourcing the finest sashimi-grade salmon and gathering your ingredients. Remember, every sushi master started with their first roll—yours doesn’t need to be perfect, just made with care and attention to technique. Share your homemade salmon roll creations on social media and inspire others to try this rewarding culinary adventure. Which salmon roll variation will you master first: classic, inside-out, or spicy? Grab your bamboo mat and let’s start rolling toward sushi success!

