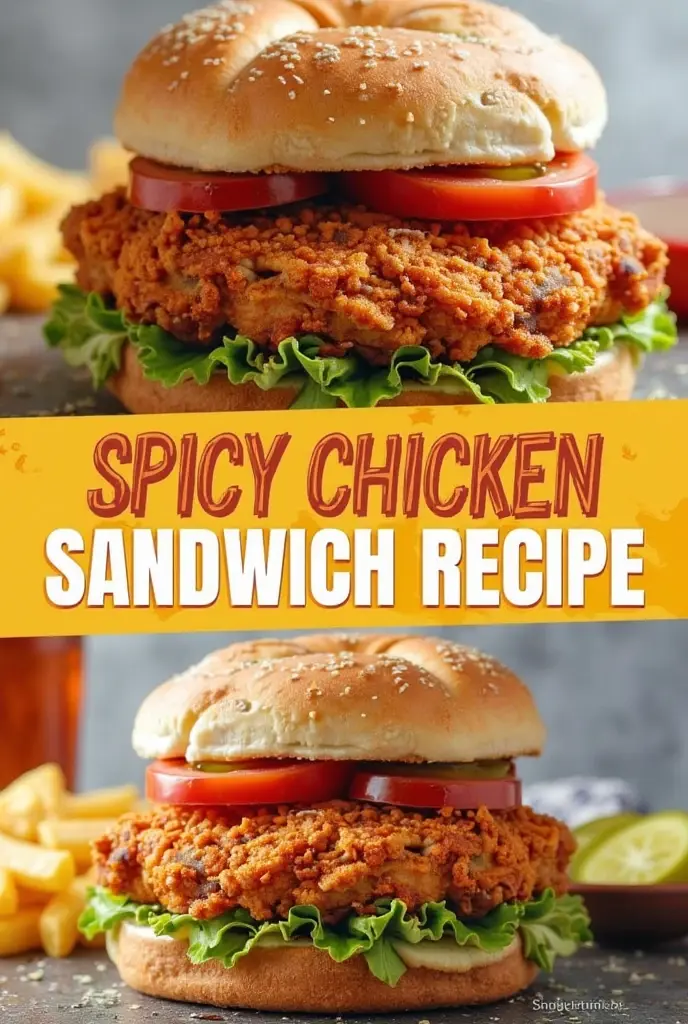
Homemade Spicy Chicken Sandwich: Simple and Flavorful
Picture this: you’re craving that perfect combination of crispy, juicy chicken with just the right amount of heat, but the nearest restaurant charges fifteen dollars for what amounts to a mediocre sandwich. Sound familiar? After countless disappointing drive-through experiences and overpriced restaurant visits, you’ve probably wondered if creating that ideal spicy chicken sandwich at home is actually possible.
The answer is a resounding yes. Not only can you craft a superior version in your own kitchen, but you’ll also save money, control the ingredients, and customize the heat level to match your exact preferences. Today, you’ll discover the secrets to building a restaurant-quality spicy chicken sandwich that will have your family and friends begging for the recipe.
Table of Contents
Why Your Kitchen Beats Any Restaurant for Spicy Chicken Sandwiches
When you prepare this beloved sandwich at home, you unlock several advantages that restaurants simply cannot match. Cost savings represent just the beginning – while establishments typically charge twelve to fifteen dollars per sandwich, your homemade version costs roughly three to four dollars using premium ingredients.
Quality control becomes your superpower. You select every component, from the chicken’s source to the oil’s quality. No mysterious additives, preservatives, or questionable ingredients make their way into your creation. Restaurant sandwiches often contain over 1,200 milligrams of sodium, but your version allows complete control over salt content and seasoning balance.
Customization options expand infinitely when you’re the chef. Dietary restrictions? No problem. Prefer extra heat? Add more cayenne. Want a healthier preparation method? Choose baking or air frying. Your sandwich adapts to your needs, not the other way around.
Essential Ingredients for Spicy Chicken Sandwich Perfection
Success begins with selecting quality ingredients. Your chicken forms the foundation – choose boneless, skinless thighs for maximum juiciness, or breasts if you prefer leaner meat. Pound pieces to uniform half-inch thickness ensuring even cooking throughout.
Primary Components Table
| Ingredient | Quantity | Purpose |
|---|---|---|
| Chicken pieces | 4 portions (6-8 oz each) | Main protein |
| Buttermilk | 2 cups | Tenderizing marinade |
| All-purpose flour | 2 cups | Crispy coating base |
| Cayenne pepper | 2-4 tablespoons | Primary heat source |
| Paprika | 2 tablespoons | Color and smoky flavor |
| Garlic powder | 1 tablespoon | Aromatic depth |
Your spice blend determines the sandwich’s character. Start conservatively with two tablespoons of cayenne for medium heat, then adjust according to your tolerance. Paprika contributes beautiful color and subtle smokiness, while garlic and onion powders add savory complexity.
Buttermilk serves as your secret weapon for tenderness. Its acidity breaks down tough proteins, while beneficial bacteria enhance flavor development. If buttermilk isn’t available, create a substitute by adding one tablespoon of lemon juice to regular milk.
Step-by-Step Preparation Process
Marinating Phase
Begin your journey by creating the buttermilk marinade. Combine buttermilk with hot sauce and salt, then submerge your chicken completely. This mixture requires patience – minimum two hours of refrigeration, though overnight marinating produces superior results.
During marination, acids tenderize the meat while flavors penetrate deeply. Don’t skip this crucial step; it transforms ordinary chicken into something extraordinary.
Coating Creation
While your chicken marinates, prepare the seasoned flour mixture. Combine flour with your chosen spice blend, ensuring even distribution. Taste-test this mixture – it should pack enough punch to flavor the entire sandwich.
Your breading station needs three components: seasoned flour, reserved buttermilk marinade, and a wire rack for draining. This organization prevents messy cross-contamination and ensures smooth workflow.
Cooking Methods for Every Kitchen
Traditional Frying Technique
Heat two to three inches of neutral oil to 325°F in a heavy-bottomed pot. This temperature prevents burning while ensuring thorough cooking. Remove chicken from marinade, allowing excess to drip off, then dredge thoroughly in seasoned flour.
Carefully lower coated chicken into oil, avoiding overcrowding. Fry six to eight minutes per side until golden brown and internal temperature reaches 165°F. Rest finished pieces on your wire rack, allowing excess oil to drain.
Healthier Oven Alternative
Preheat your oven to 425°F and spray a baking sheet with cooking oil. Follow identical breading procedures, then arrange coated chicken on the prepared sheet. Bake twenty-five to thirty minutes, flipping once halfway through.
For extra crispiness, finish under the broiler for two to three minutes, watching carefully to prevent burning. This method reduces oil consumption while maintaining excellent texture.
Quick Air Fryer Method
Set your air fryer to 380°F and spray the basket with oil. Cook breaded chicken twelve to fifteen minutes, flipping halfway through. Air circulation creates exceptional crispiness with minimal oil usage.
Mastering Heat Levels and Spice Balance
Understanding the Scoville scale helps you calibrate your sandwich’s intensity:
- Mild (1,000-5,000 SHU): Paprika-forward with minimal cayenne
- Medium (5,000-15,000 SHU): Balanced cayenne and paprika ratio
- Hot (15,000-30,000 SHU): Cayenne-dominant with additional chili powder
- Fire (30,000+ SHU): Specialty pepper powders for heat enthusiasts
Start conservatively and build intensity gradually. Adding heat is simple; removing excess spice proves impossible.
Assembly Techniques for Maximum Impact
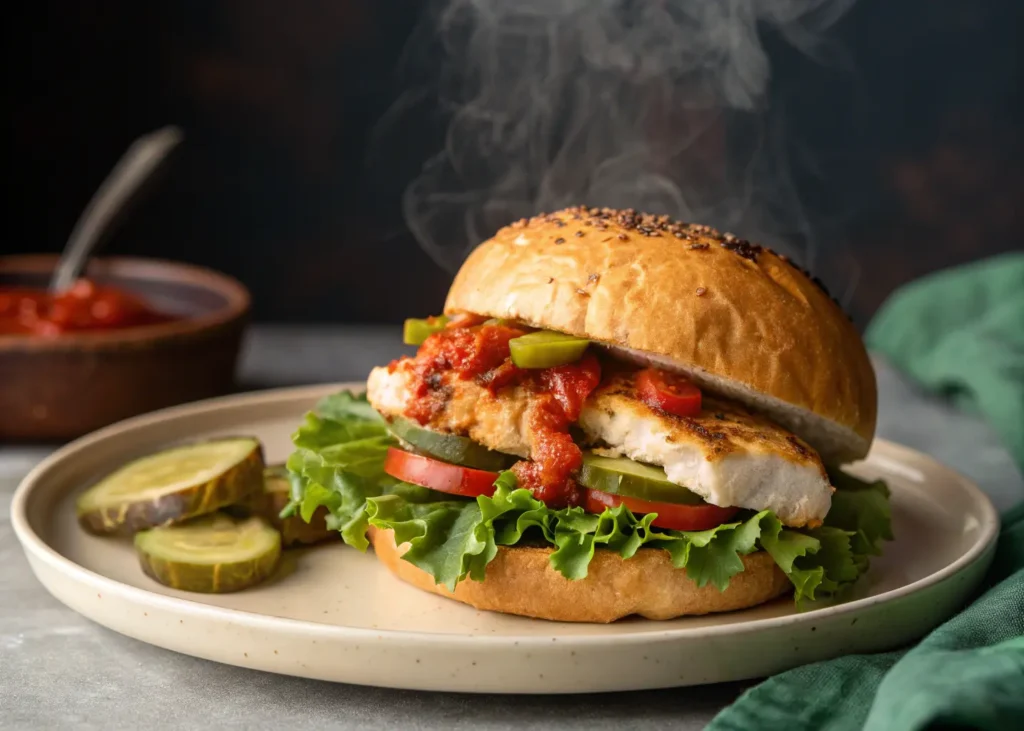
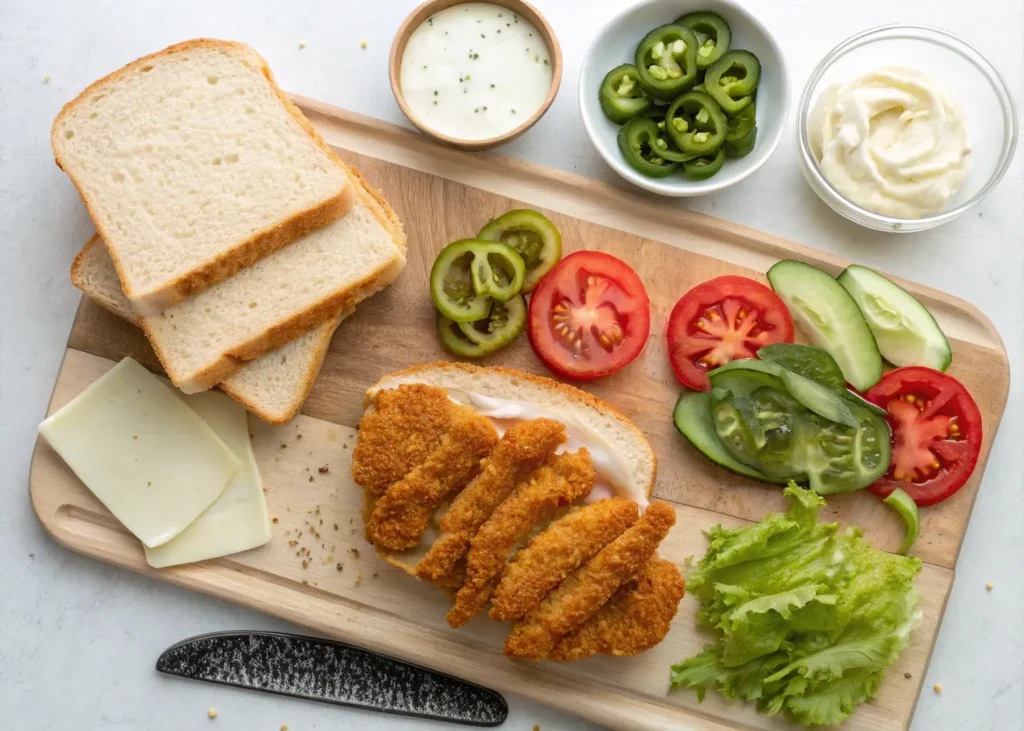
Your bun selection influences the entire experience. Brioche offers buttery richness, while potato buns provide subtle sweetness that complements spice. Toast cut sides lightly for structural integrity and enhanced flavor.
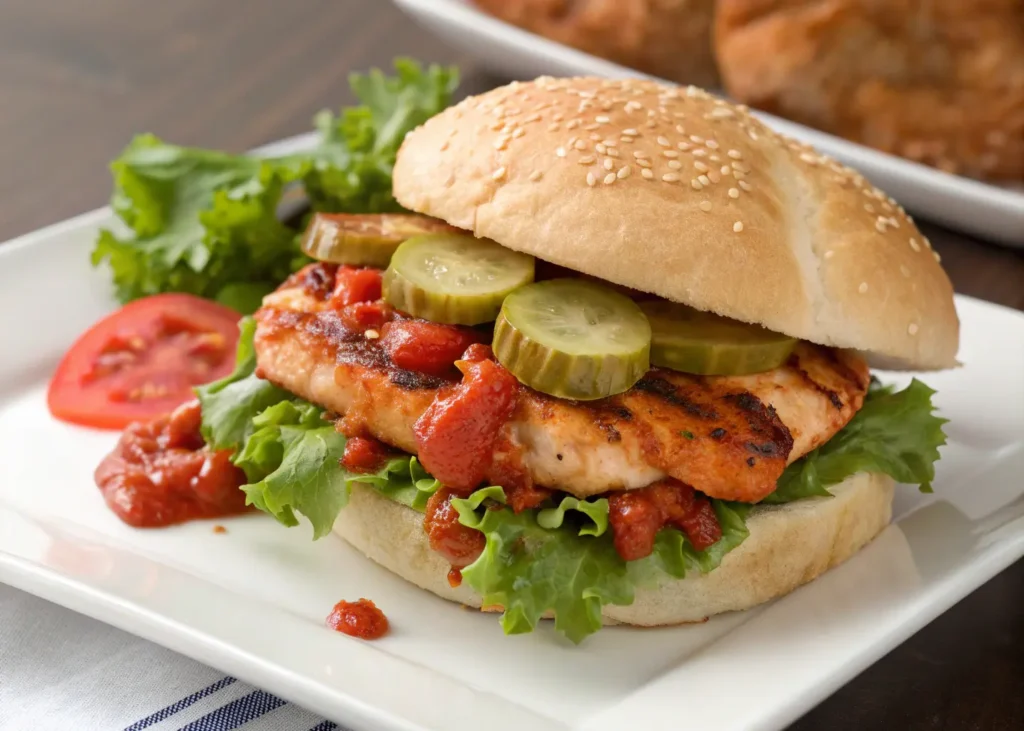
Layer strategically for optimal taste distribution:
- Bottom bun spread with spicy mayo
- Crisp lettuce for cooling contrast
- Hot chicken as the centerpiece
- Tangy pickle chips for acidic balance
- Additional sauce on top bun
This arrangement prevents sogginess while ensuring every bite contains balanced flavors and textures.
Troubleshooting Common Issues
Soggy coating typically results from insufficient oil temperature. Maintain 325°F consistently using a thermometer. Dry chicken indicates overcooking – invest in an instant-read thermometer for accuracy.
If coating separates from chicken, extend marinade time or press flour mixture more firmly onto surfaces. Uneven browning suggests inconsistent piece sizes; uniform thickness prevents this problem.
Bland results often stem from insufficient seasoning in both marinade and coating. Salt enhances all flavors, so don’t skimp on this crucial element.
Storage and Reheating Strategies
Properly stored cooked chicken maintains quality for three days refrigerated. Separate components preserve individual textures – store chicken, buns, and toppings independently.
For reheating, choose methods that restore crispiness. Oven reheating at 375°F for ten to twelve minutes on a wire rack works excellently. Air fryers also excel at restoring texture in three to five minutes at 360°F.
Avoid microwaving, which creates steam and destroys the coating’s crispiness you worked so hard to achieve.
Elevating Your Sandwich Game
Sauce variations transform your creation. Classic spicy mayo combines mayonnaise, sriracha, lime juice, and garlic powder. For cooling contrast, blend ranch dressing with sour cream, fresh dill, and lemon zest.
Side dish pairings enhance the meal experience. Traditional french fries satisfy comfort food cravings, while sweet potato fries add nutritional value. Fresh coleslaw provides cooling relief, and pickle spears contribute additional tangy contrast.
Beverage selections can either complement or contrast your sandwich’s heat. Dairy-based drinks neutralize capsaicin, while cold beer’s carbonation cleanses the palate between bites.
Your Path to Spicy Sandwich Success
Creating the perfect homemade spicy chicken sandwich represents more than following a recipe – it’s mastering a skill that brings restaurant-quality results to your table. You now possess comprehensive knowledge covering ingredient selection, preparation techniques, cooking methods, and troubleshooting solutions.
The investment in time and technique pays dividends beyond cost savings. You gain complete control over quality, customize heat levels precisely, and develop culinary confidence that extends to other cooking adventures.
Ready to transform your kitchen into the neighborhood’s best chicken sandwich destination? Gather these ingredients today and begin your journey toward spicy sandwich mastery. Your taste buds deserve better than overpriced, underwhelming restaurant versions, and your family deserves the love and care that only homemade cooking provides.
Start with the medium heat blend if you’re uncertain about spice tolerance, then adjust future batches according to your preferences. Document your modifications to replicate successful combinations and avoid disappointing experiments.
Your perfect spicy chicken sandwich awaits – fire up that stove and prepare to amaze everyone at your table with restaurant-quality results achieved through your own skilled hands.

